Volkswagen Golf Service & Repair Manual: Removing and installing front vehicle level senders -G78-/-G289-
| Special tools and workshop equipment
required |
|
|
|
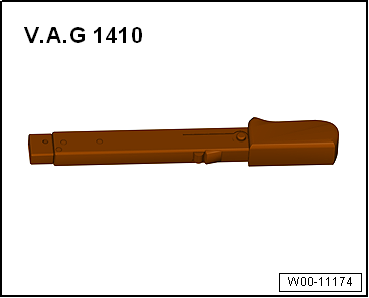
| Torque wrench -V.A.G 1410- |
|
|

|
| – |
Disconnect connector -1- on
front left vehicle level sender -G78- and/or front right vehicle
level sender -G289-, as applicable. |
|
|

|
| – |
Pull bracket -2- for front left
vehicle level sender -G78- and/or for front right vehicle level
sender -G289- out of suspension link -3-,
as applicable |
|
|

|
| – |
Remove front left vehicle level sender -G78- and/or front
right vehicle level sender -G289-, as applicable. |
| Install in reverse order of removal, observing the
following: |
 Note Note
| Lever on vehicle level sender must face towards outside of
vehicle. |
| Thread of vehicle level sender must be screwed into outer
hole in suspension link. Retaining lug for vehicle level sender
must engage in inner hole in order to guarantee correct
installation position. |
| Perform basic setting of wheel damper electronics
→ Vehicle
diagnostic tester. |
| If the reference position has been re-adapted, the front
camera for driver assist systems must be recalibrated on
vehicles with lane departure warning function
→ Chapter „Calibrating front camera for driver assist systems“. |
| Carry out basic setting of headlights
→ Electrical system; Rep. gr.94. |
| → Chapter „Assembly overview - front vehicle level senders“ |
|
|

|
Note
The vehicle level sender is available as a replacement part only
complete with coupling rod and upper and lower retaining plates.
1 -
Pop ri ...
Special tools and workshop equipment
required
Torque wrench -V.A.G 1410-
Removin ...
© 2016-2024 Copyright www.vwgolf.org

 Note
Note Assembly overview - rear vehicle level senders, multi-link suspension,
four-wheel drive
 Removing and installing rear left vehicle level sender -G76-, torsion beam
axle


