Volkswagen Golf Service & Repair Manual: Removing and installing glove compartment
| Special tools and workshop equipment
required |
|
|
|
| |
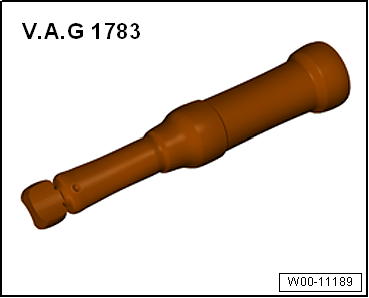
Torque wrench -V.A.G 1783- |
| – |
Remove dash panel end cover on front passenger side
→ Chapter. |
| – |
Remove front passenger side footwell cover
→ Chapter. |
| – |
Remove centre console cover on front passenger side
→ Chapter. |
| – |
If fitted, remove control unit 1 for information electronics
-J794-
→ Communication; Rep. gr.91. |
|
|
|
| – |
Unscrew bolt -arrow 1- at side. |
| – |
Open glove compartment lid and unscrew bolts
-arrows 2-. |
| – |
Unclip glove compartment from dash panel and pull it out
until glove compartment cooling hose can be accessed. |
| – |
Pull glove compartment cooling hose off glove compartment. |
| – |
Disconnect any electrical connectors from glove compartment,
move cable guides clear to one side and remove glove
compartment. |
 Note Note
| Before installing, check all fasteners for damage and renew
if necessary. |
| Installation is carried out in reverse order. |
| |
→ Chapter „Assembly overview - glove compartment“ |
|
|

|
Removing
–
Move glove compartment lid to service position
→ Chapter.
–
Disconnect connec ...
Removing
–
Remove glove compartment
→ Chapter.
–
Place glove compartment on a soft surf ...
Other materials:
Assembly overview - sump and oil pump
Note
Metal shavings or a large quantity of small metal particles found
during engine repair could indicate that the crankshaft bearings or
conrod bearings are damaged. To avoid any subsequent damage, the
following work must be carried out following the repair: Caref ...
Side view
Fig. 1 Overview of the driver side
Key for :
Roof aerial
Tank flap
Exterior door release lever
Exterior mirrors
Additional turn signal
Surround lighting
Jacking points
...
Temporary spare wheels
Notes on temporary spare wheels
Inform your customers about the following notes and, if
appropriate, refer also to the user's manual of the vehicle as
the need arises.
The followin ...
© 2016-2024 Copyright www.vwgolf.org

 Removing and installing damper element for glove compartment lid
 Removing and installing glove compartment cover