Volkswagen Golf Service & Repair Manual: Removing and installing LED modules for daytime running light and side light
-L176-/-L177- (“GTE” only)
| Special tools and workshop equipment
required |
|
|
|
| Torque wrench -V.A.G 1783- |
|
|

|
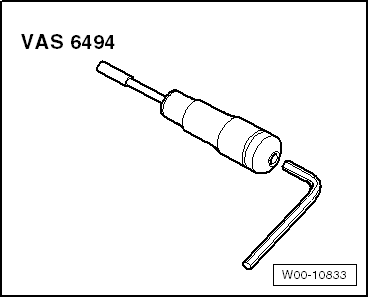
| Torque screwdriver -VAS 6494- |
 Note Note
| Removal and installation are described for the left side.
Removal and installation on the right side are carried out in
the same way. |
| – |
Remove noise insulation
→ General body repairs, exterior; Rep. gr.66. |
| – |
Remove front part of wheel housing liner
→ General body repairs, exterior; Rep. gr.66. |
|
|

|
| – |
Release connector -2- and
disconnect. |
| – |
Remove left LED module for daytime running light and side
light -L176--1- towards rear. |
| Install in the reverse order of removal, observing the
following: |
| – |
Insert left LED module for daytime running light and side
light -L176--1- with the two
pointed projections facing towards front into bumper aperture. |
| → Chapter „Assembly overview - daytime running lights“ |
|
|

|
Note
Left LED module for daytime running light and side light
-L176- and right LED module for daytime running light and side
light -L177- are onl ...
Note
Left dip beam screen motor -V294- and right dip beam screen
motor -V295- are only fitted on gas discharge headlights without
cornering light ...
© 2016-2024 Copyright www.vwgolf.org

 Note
Note Removing and installing LED modules for daytime running light and side light
-L176-/-L177- (does not apply for “GTE”)
 Removing and installing dip beam screen motor -V294-/-V295


