Volkswagen Golf Service & Repair Manual: Removing and installing rear door trim
 Note Note
| Removal and installation is described for the rear door trim
on driver side. Follow same instructions for the front passenger
side as appropriate. |
| Special tools and workshop equipment
required |
|
|
|
| |
|

Removal wedge -3409- |
| |
|

Wedges -T10383- |
| Vehicles without electric window regulator |
| – |
Remove window winder
→ General body repairs, exterior; Rep. gr.58. |
| Continued for all vehicles |
| – |
Switch off ignition and all electric loads and then remove
ignition key. |
|
|
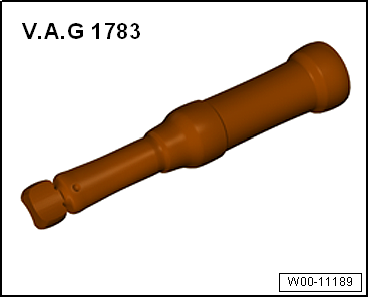
Torque wrench -V.A.G 1783- |
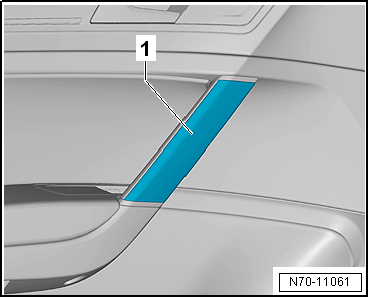
| – |
Lever upper part of handle recess -1-
out of mountings in door trim, using removal wedge -3409-. |
|
|
|
| – |
Remove reflector
→ Electrical system; Rep. gr.96. |
|
|

|
| – |
Release retaining clip -1- with
Torx T30 by turning it 90° (1/4
turn) in -direction of arrow-. |
|
|

|

| – |
Force retaining clips -2- of door trim
-1- out of mountings with wedges -T10383-.
Clip -3- has already been released. |
| – |
Pull door trim -1- upwards vertically
out of window slot seal. |
| – |
Disconnect the electrical plug-in connections from the door trim
-1- in accordance with the vehicle's
equipment. |
| – |
Unhook Bowden cable -1- from
inner door handle. |
Note
-
| Before installing, check all fasteners for damage and
renew if necessary. |
-
| Install in reverse order, but note the following: |
| – |
Insert retaining clips into rear door trim. |
|
|

|
 Caution Caution
| Before installing door trim, ensure that the locking
mechanisms of all clips are in
-position 1-. |
| It is not possible to install the door trim without problem
if clips are in -position 2-! |
|

| |
→ Chapter „Assembly overview - rear door trim“ |
|
|
|
Note
The assembly overview is shown for the rear door trim on driver
side. The assembly overview for the front passenger side is analogous.
1 -
D ...
Note
Removal and installation are described for the trim panel on
driver side. Follow same instructions for the front passenger
side as appropriate.
...
© 2016-2024 Copyright www.vwgolf.org

 Assembly overview - rear door trim
 Removing and installing trim panel