Volkswagen Golf Service & Repair Manual: Removing and installing coolant valve for high-voltage battery -N688-
| Special tools and workshop equipment
required |
|
|
|
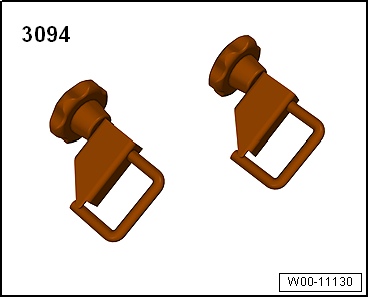
| Hose clamps, up to 25 mm -3094- |
|
|
|
| Hose clip pliers -VAS 6362- |
|
|

|
Note
Fill coolant and bleed coolant circuit
→ Rep. gr.19.
The illustration below shows only some of the compone ...
Special tools and workshop equipment
required
Hose clamps, up to 25 mm -3094-
...
Other materials:
2-pack wash primer
Designation:
2-pack wash primer -LHV 043 000 A2-
Issued 10.2010
Product description
The 2-pack wash primer is a zinc chromate-free, phenol-free,
acid-curing two-pack w ...
Assembly overview - windscreen wiper system
Note
The illustration shows fitting locations for LHD vehicles. Fitting
locations for RHD vehicles are similar.
1 -
Wiper blade on driver side
Different lengths. Refer to
→ Electronic Parts Catalogue.
...
Assembly overview - speed sensor on rear axle
1 -
ABS speed sensor
Before inserting sensor, clean inner surface of fitting hole and
coat it with high-temperature paste -G 052 112 A3-.
Removing and installing
→ Chapter
2 -
Bolt
...
© 2016-2024 Copyright www.vwgolf.org

 Note
Note
 Incorporation of heat exchanger for high-voltage battery into coolant circuit of
high-voltage system
Incorporation of heat exchanger for high-voltage battery into coolant circuit of
high-voltage system Removing and installing coolant pump for high-voltage battery -V590-